PoCT Batch - Changes applicable from 3rd April 2020
When starting a new box of test strips you must add the PoCt batch number and expiry date in INRstar so users can track the use of INR testing consumables. This will allow the tracking of consumables against the testing of individual patients for Quality Assurance purposes.
To manage PoCT batches click 'Options' tab > PoCT' tab

If this is the first time you are adding batch details the screen will be empty. 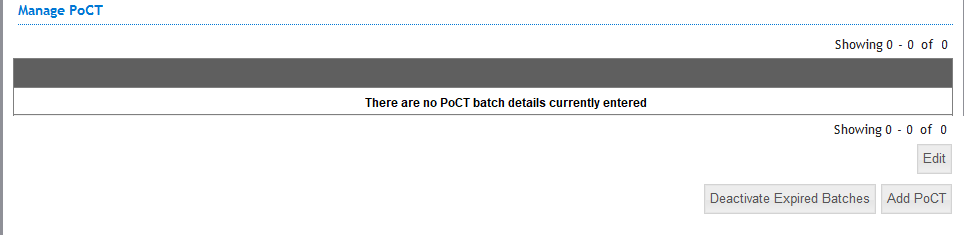
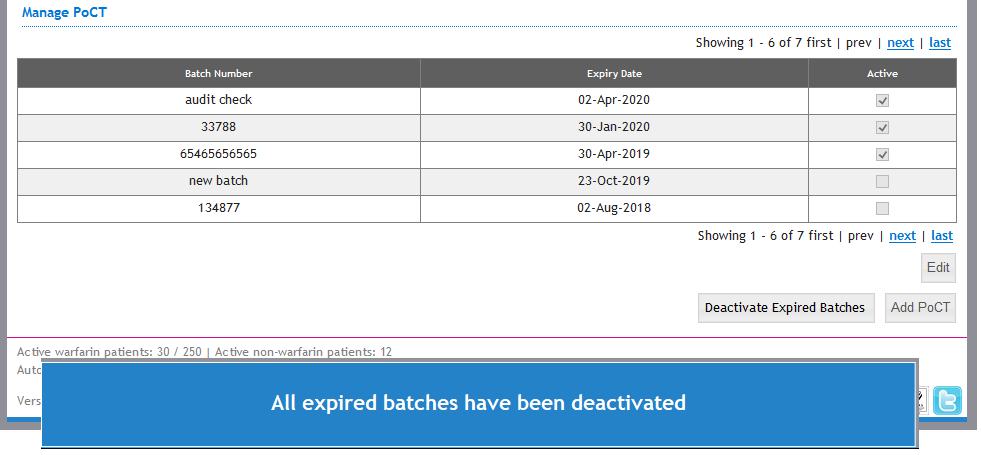
If you already have batches recorded the screen will look like this.

The table will now show a maximum of 10 batches, but we have added pagination so that you only see the relevant batches first but can look for older batches if required.
Depending on the testing equipment you use the process will be slightly different.
For devices where you will need to manually enter the details, click on Add PoCT button  and enter the details as per the screen below.
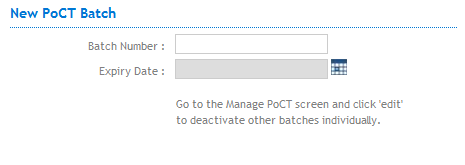

Click the ‘Add’ button to save the information to the database.
Your batch will be automatically marked as active. Active batches are displayed at the top with the latest expiry date first.
Batches for the LumiraDx Platform will be automatically added to this screen by INRstar when the first test result is received with a new batch number and expiry date.
Once a new activate batch has been added it will be available from the PoCT dropdown on the new INR screen.
Click on the Edit button, this will enable the Active check box column
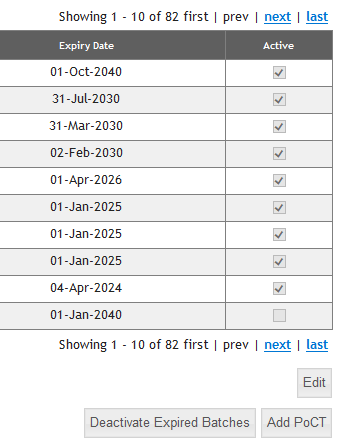
Tick the tickbox against a batch to activate it and untick the tickbox to deactivate it. 
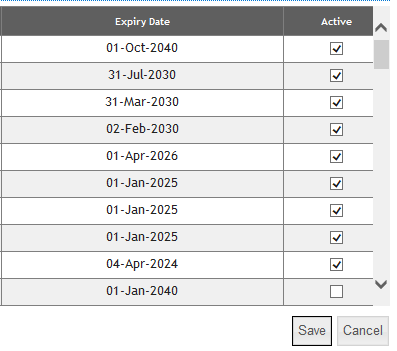
Click the Save button to confirm the changes you have made.
Once you have activated a batch number it will be available from the PoCT dropdown on the new INR screen.
In order to keep your batches manageable, we’ve provided the ability to deactivate all expired batches. By deactivating expired batches this will mean that you won't see those batches when selecting one on the INR treatment page or when completing an EQC test.
Click on the ‘Deactivate Expired Batches’ button

The following message will be displayed
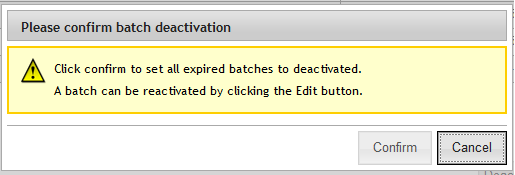
Click ‘Confirm’ to set all expired batches to inactive. This will uncheck the check box on the screen. Deactivated batches can be reactivated if required.
The lower notification bar will be displayed to confirm how many batches have been deactivated.
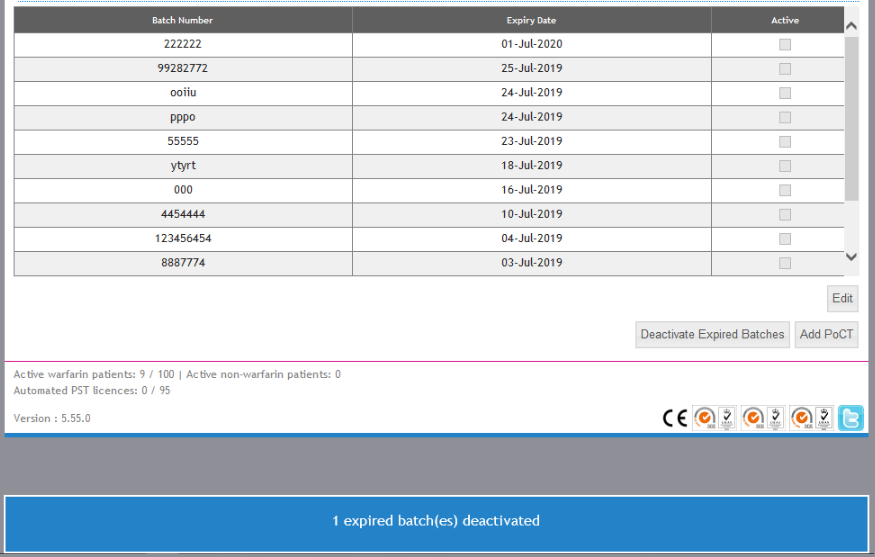
Or if you have deactivated all expired batches.