
Managing INRstar Users - Login Roles Permissions
Due to the potentially serious clinical consequences of an incorrect warfarin dose it is important for your practice to limit INRstar access to staff who are familiar with the management of anticoagulation therapy and who have been trained in its correct use.
Each authorised user will need a user name and password to gain access to INRstar. INRstar will check the password against the user name and will only allow access if the two entries match correctly.
We recommend the lead clinician with overall responsibility for Anticoagulation Management takes responsibility for the management of INRstar within the organisation.
Important Notice
It is the organisation's responsibility to determine their Anticoagulation Protocols specifying which Clinical Roles can undertake certain treatment activities. The allocation of roles to users should comply with local protocols.
All Clinical Users of INRstar who are involved with patient treatments should regularly attend updates in Anticoagulation.
To add a user to the system select 'Options' in the navigation bar, 'Location Management' in the tab below and then 'Users' in the Manage Location(s) section.
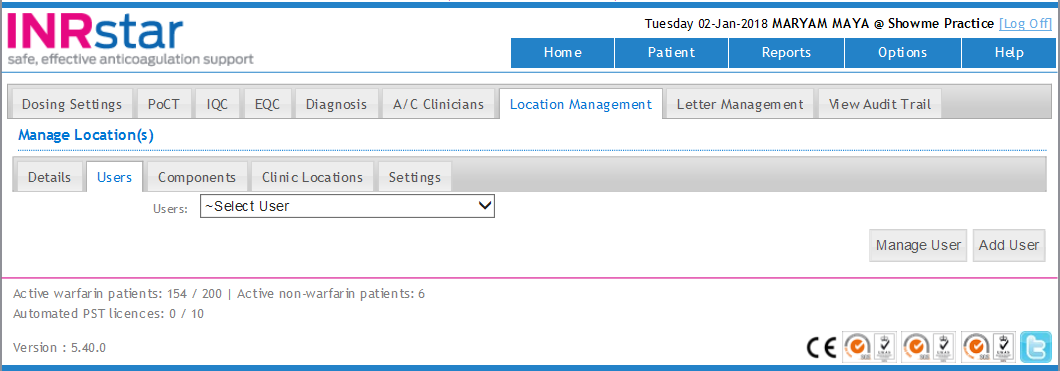
Click the 'Add User' button.

Enter the following user details...
Full Name: Enter the individual's full name including their Title.
Username: It is recommended that the individual's NHS email address is entered.
Password: Enter an initial password that the user can use to login with. Note that when they log into INRstar for the first time they will be required to change this password for security purposes.
Confirm password: Re-enter the password.
To save the new user's details, click 'Add'.
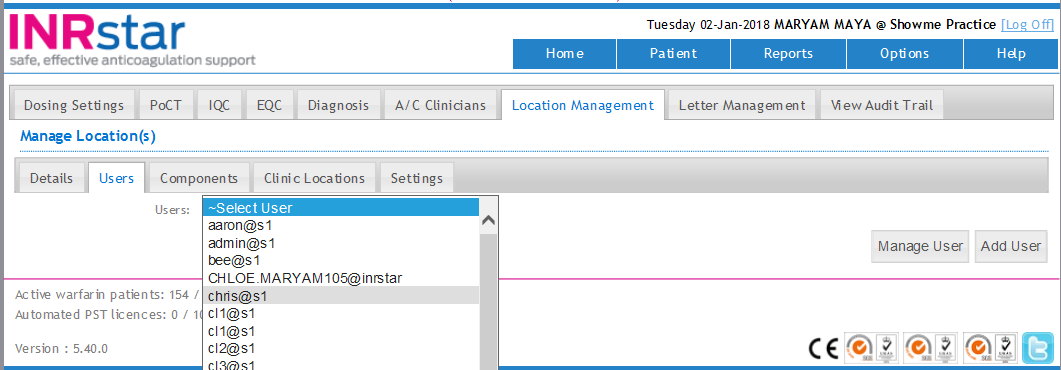
To add a user to the system select 'Options' in the navigation bar, 'Location Management' in the tab below and then 'Users' in the Manage Location(s) section.
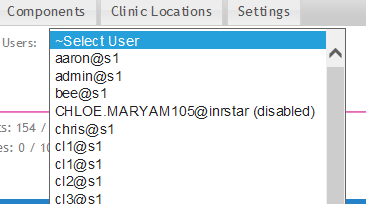
To view a users' details select the user from the dropdown list in the above illustration. The User Account subform is divided into two sections, Details and Roles & Permissions.
To edit a Users profile, select the User from the drop down menu and click 'Manage User' .
On the 'Details' tab...
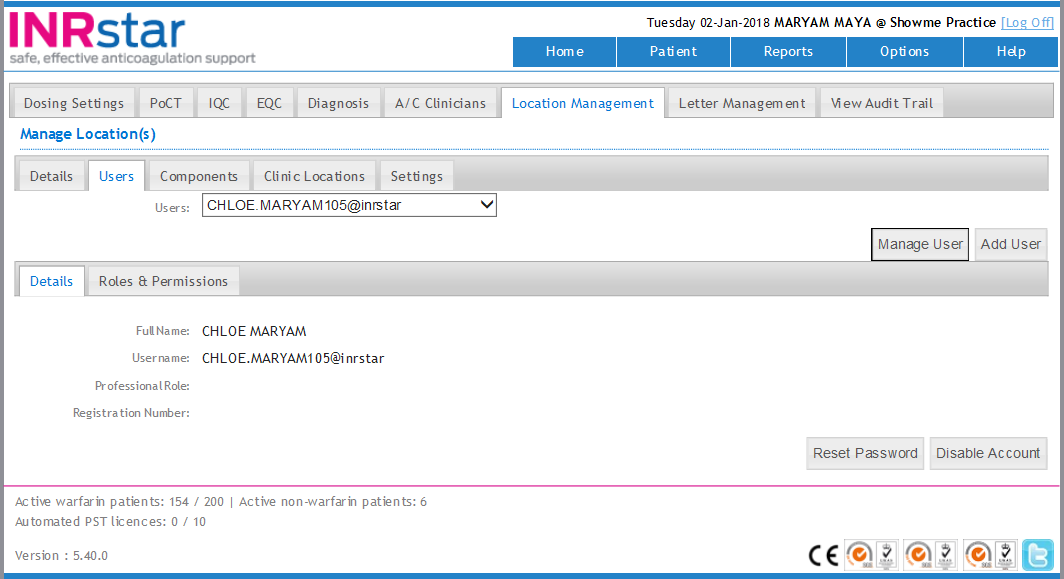
Click the button named 'Reset Password to change the user's password.
• This will then bring up the new temporary password which can be used to let the user enter INRstar (NB the temporary password can not be copied and pasted)
• This password will have to be changed the next time they log into INRstar

Click the button named 'Disable Account' to stop the user from logging-in to INRstar.
A confirmation window will appear, to confirm disabling the selected user's account click the 'Confirm' button.
Or click the 'Cancel' button to cancel disabling the selected user's account.

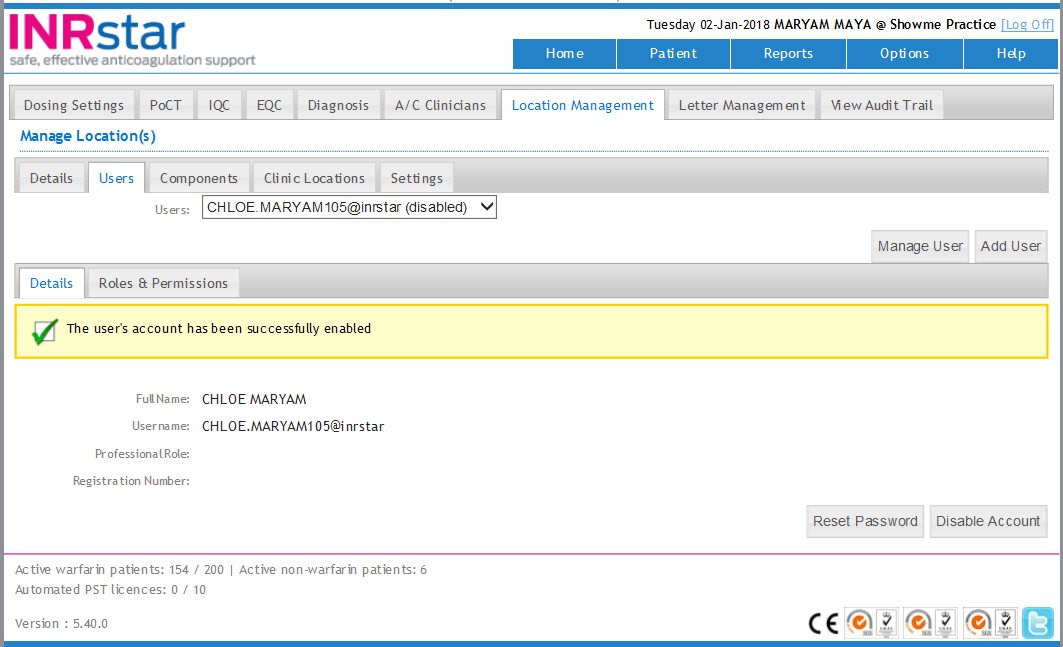
If confirmed a success message will be shown on the Manage User screen.
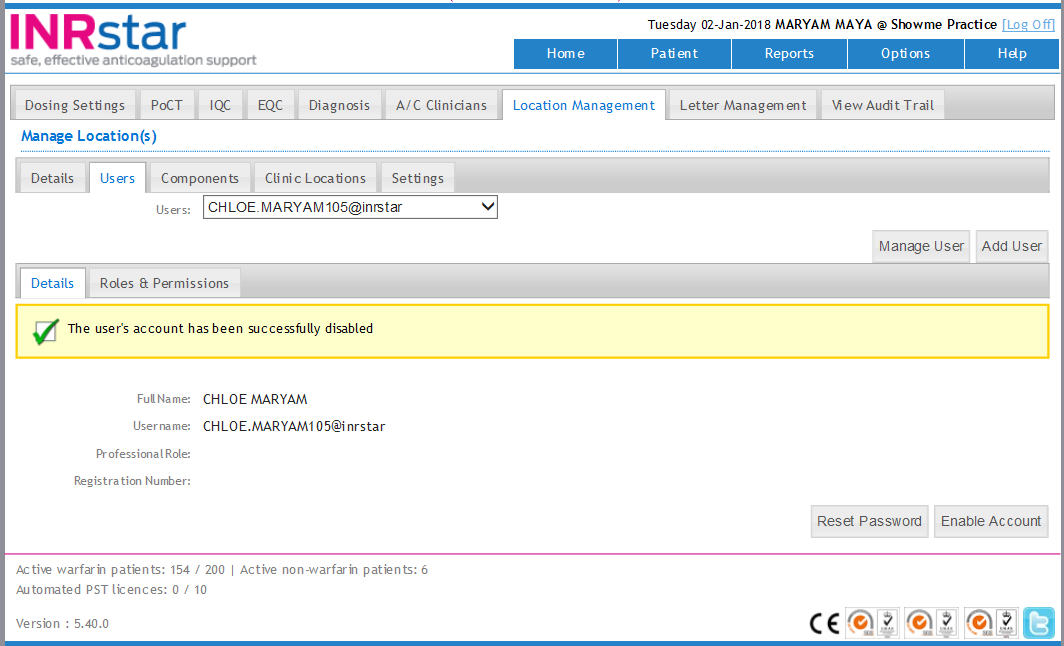
The Users who are disabled will have (disabled) after their name in the users drop down list.
To reactivate an account click the 'Enable Account' button.
• Then click on 'Roles and Permissions' and select the correct level of permissions for the User.
If confirmed a success message will be shown on the Manage User screen.
On the 'Roles & Permissions' tab...
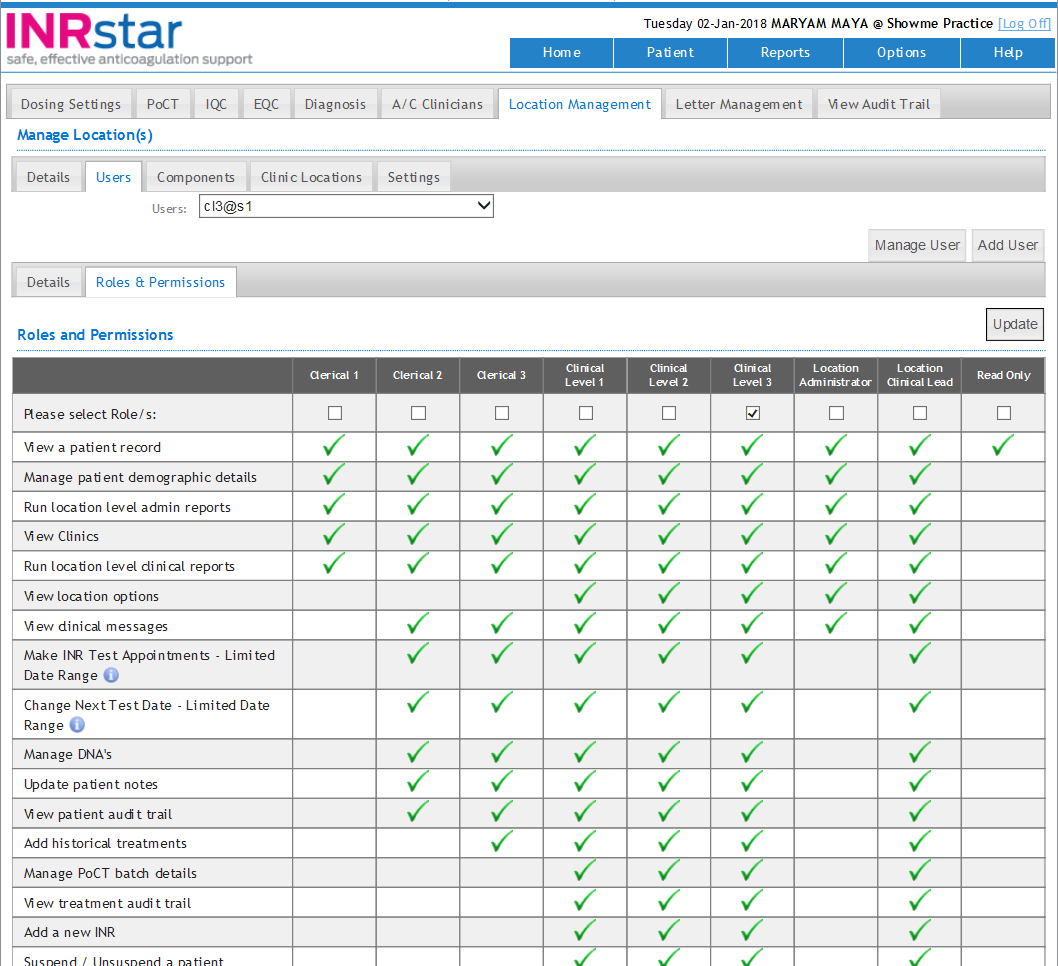
Each new User will need to be assigned the correct Role and Permission level depending on their experience and qualifications.
- Clerical 1
- Clerical 2
- Clerical 3
- Location Administrator
- Clinical Level 1
- Clinical Level 2
- Clinical Level 3
- Location Clinical Lead
- Organisation administrator
- Organisation Clinical Lead
- Read Only